Steps to Protect a Wind-Damaged Roof Before Permanent Repairs
A roof that has just taken a hit from high winds needs quick attention. Whether the damage comes from a fallen branch, wind uplift, or hail impact, the goal is the same: stop further harm to the building while you plan for permanent fixes. Acting fast can prevent water from leaking into the interior, which often turns a manageable repair into a much bigger project. This article walks through the practical steps to secure a damaged roof until professional help arrives, with special attention to what to watch for at each stage.
Step 1: Assess the situation from a safe spot
Before doing anything, check the damage from the ground or from inside the attic. Do not climb onto the roof if there is any chance the structure is unstable. High winds can loosen rafters, shift decking, or create hidden weak spots. Look for sagging areas, water stains on ceilings, or daylight coming through the roof boards. These signs point to structural damage that could make walking on the roof dangerous.
Take notes and photos from the ground. Clear, well-lit pictures will help later when you file an insurance claim. Document every missing shingle, bent flashing, or torn underlayment you can see from a safe distance. This record also helps a roofing professional understand the scope of work before they arrive.
Step 2: Call your insurance company
Most homeowners policies cover wind damage, but the rules vary. Contact your insurer as soon as you can. Ask what the claim process looks like and whether they will pay for temporary tarp installation or emergency board-up. Some policies include a clause that requires you to make reasonable temporary repairs to prevent further damage, so it is wise to get guidance before you spend money or start work.
Keep a log of every call, the name of the person you spoke with, and any claim numbers you receive. This paper trail will make the permanent roof inspection and repair process smoother later on.
Step 3: Cover the damaged area with a temporary tarp
If the roof has an open hole, a torn membrane, or a cluster of missing shingles, a heavy-duty tarp is the fastest way to keep water out. Choose a tarp large enough to extend at least two feet past the damaged section on all sides. This overlap prevents rain from seeping under the edges.
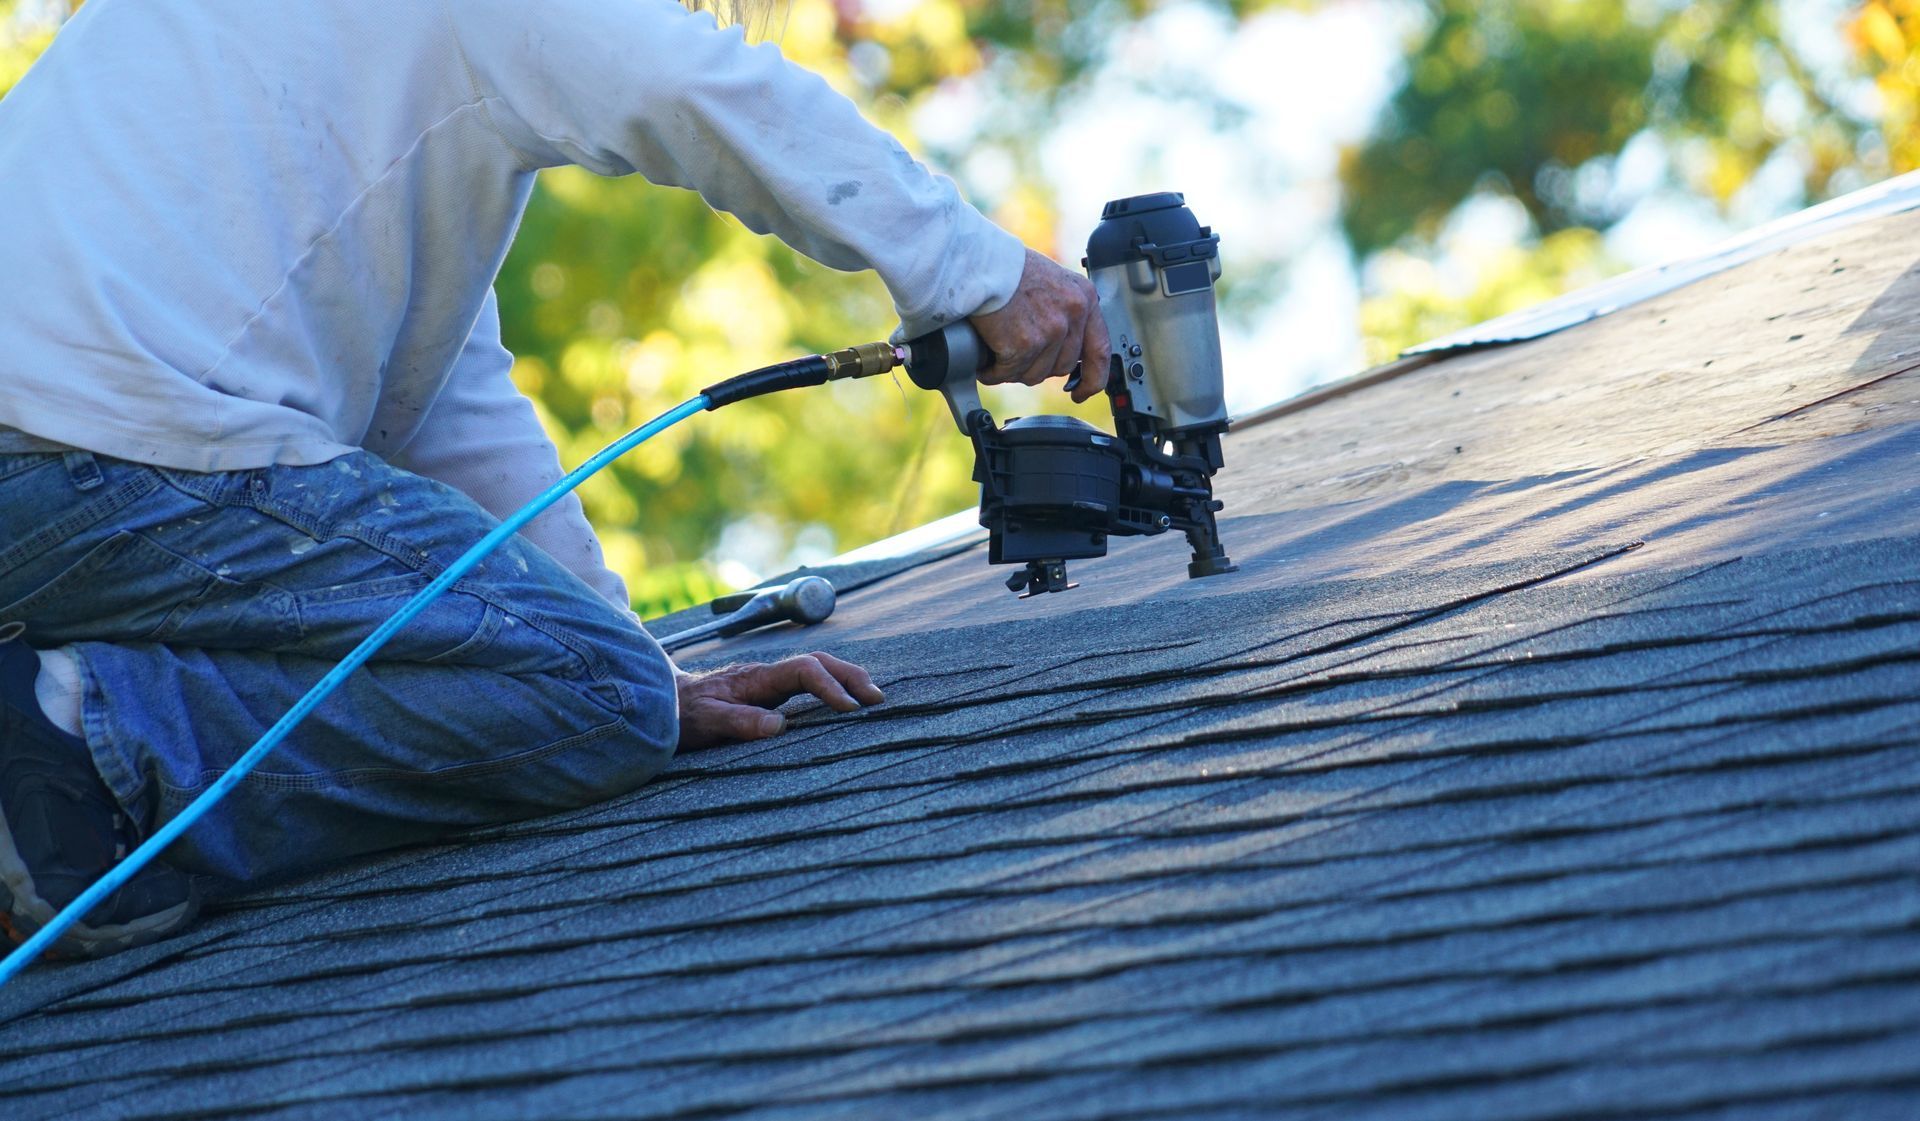
Secure the tarp with roofing nails or screws driven through wood battens. Do not just lay the tarp loose and weigh it down with bricks or cinder blocks; strong winds will lift it and undo your work. Fasten the tarp along the high side of the roof first, then pull it tight and fasten the lower edges. Work from a ladder or a secure position on the ground if possible. If the roof pitch is steep or the damage is extensive, wait for a professional to handle this step.
Step 4: Check for water entry inside the building
While the tarp is going up, have someone inside watch for water dripping through the ceiling. Place buckets or plastic sheeting under any active leaks. If water is pooling inside, poke a small hole in the ceiling at the lowest point of the sag to let it drain into a bucket. This prevents the drywall from absorbing moisture and collapsing.
Move furniture and valuables away from the affected area. If the leak is near electrical fixtures, turn off the power to that room at the breaker panel. Water and electricity do not mix, and a short circuit can start a fire or shock someone.
Step 5: Perform a careful roof inspection once conditions are safe
After the immediate danger passes and the weather clears, inspect the roof more closely. Look for signs of wind uplift, where the force of the wind has lifted shingles or tiles and broken the seal between layers. Check for hail impact that may have created small punctures or cracks in the roofing material. Examine the edges and valleys where water tends to collect. A fallen branch may have scraped off granules or left a dent that does not leak now but will fail later.
If the damage is limited to a small area, you might be able to replace a few shingles yourself. But if you see widespread damage, sagging decking, or exposed underlayment, call a licensed roofer. Repairs for storm damaged roofs often require specialized knowledge to ensure the new work ties into the old material without creating new weak spots. This is especially true when the roof has multiple layers of shingles or a complex shape.
Step 6: Make temporary patches for small holes or cracks
For small punctures or cracked flashing, a tube of roofing cement or a can of spray-on patching compound can buy time. Clean the area first, removing any loose debris or granules. Apply the patch according to the product instructions, making sure it covers the hole completely and extends onto the surrounding surface. These patches are not permanent solutions but they can hold for a few weeks until a professional roofer arrives.
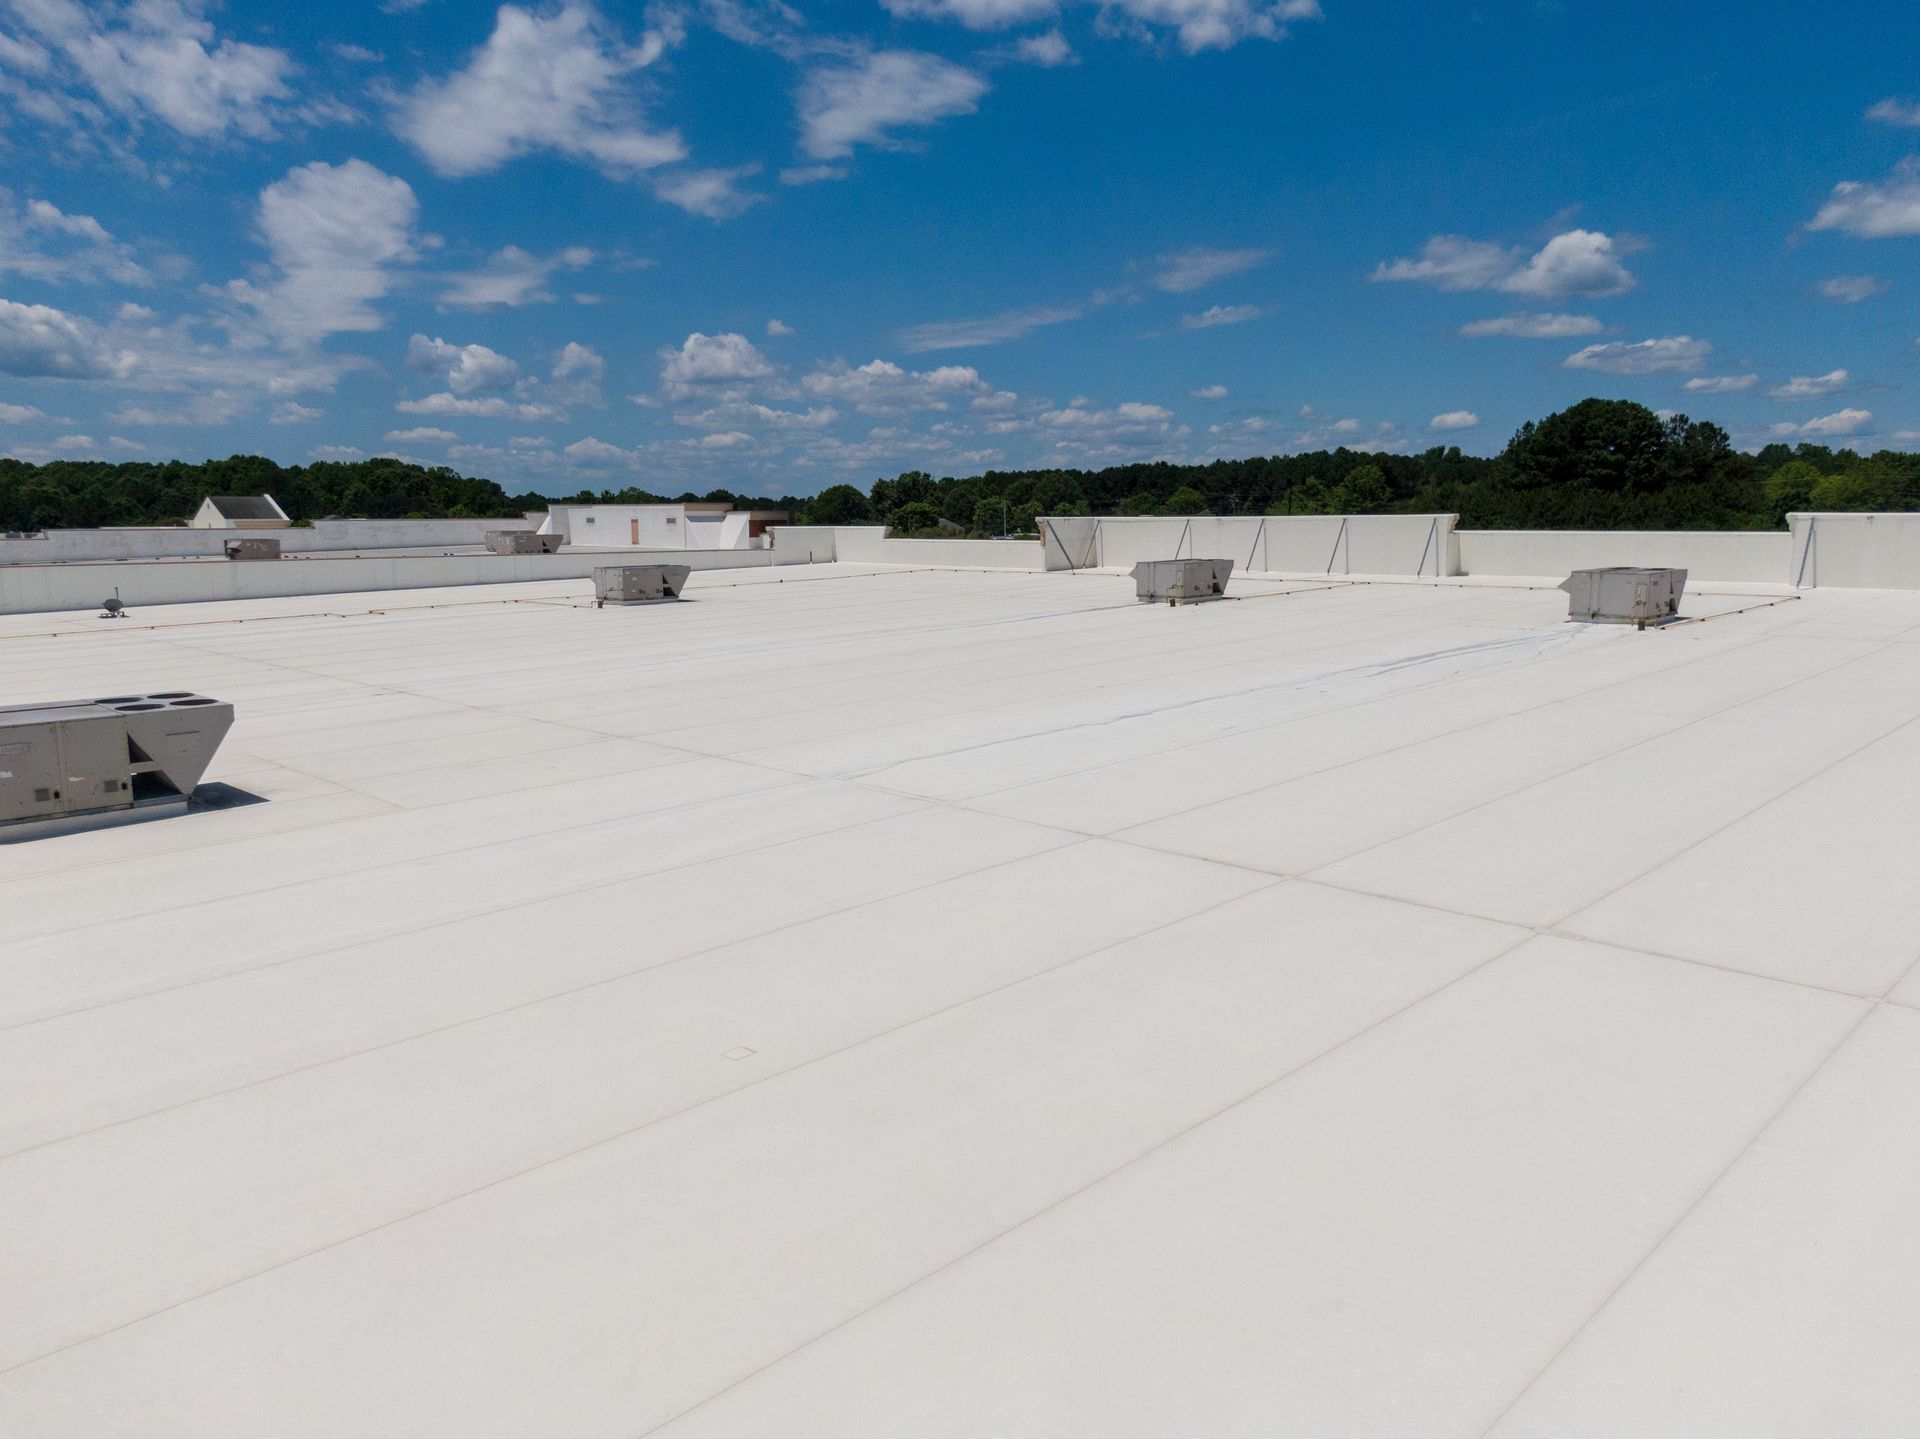
Watch for bubbles or gaps in the patch after the first rain. If the patch fails, go back to the tarp method. Temporary fixes are only as good as the conditions they face, and wind-driven rain will find any weakness.
Step 7: Schedule permanent repairs as soon as possible
A tarp or a patch is a stopgap, not a long-term fix. UV rays, wind, and rain will degrade a tarp within a few months. The longer you wait, the greater the chance that water seeps into the roof deck or the insulation, leading to rot, mold, or structural damage. Repairs for storm damaged roofs should be completed within a week or two of the storm if the weather allows.
When you call a roofing company, describe what you see and mention the type of damage, the roof slope, and the material. Ask for an itemized estimate and a timeline. A reputable contractor will perform a full roof inspection before starting work, checking the deck, underlayment, flashing, and ventilation. They will also verify that the temporary repairs you made did not create any new issues, such as nails driven through the underlayment or fasteners placed too close together.
Once the permanent repairs begin, the roofer will remove any temporary tarps or patches, repair or replace the damaged sections, and ensure the new work matches the existing roof in appearance and performance. A good roofer will also check for hidden damage that was not visible from the ground, such as a cracked rafter or a lifted ridge vent.
What to watch for throughout the process
Every step of the way, safety comes first. Do not rush onto a wet roof or a roof with visible sagging. If you are unsure about any part of the process, stop and call a professional. The cost of a professional inspection is small compared to the cost of a fall or a botched temporary repair that causes interior flooding.
Keep an eye on the weather forecast. If more storms are predicted, double-check that your tarp is still secure and that no new leaks have developed. After the temporary fix is in place, check the attic or ceiling periodically for signs of moisture. Early detection of a failing patch or a shifted tarp can prevent a small leak from becoming a big problem.
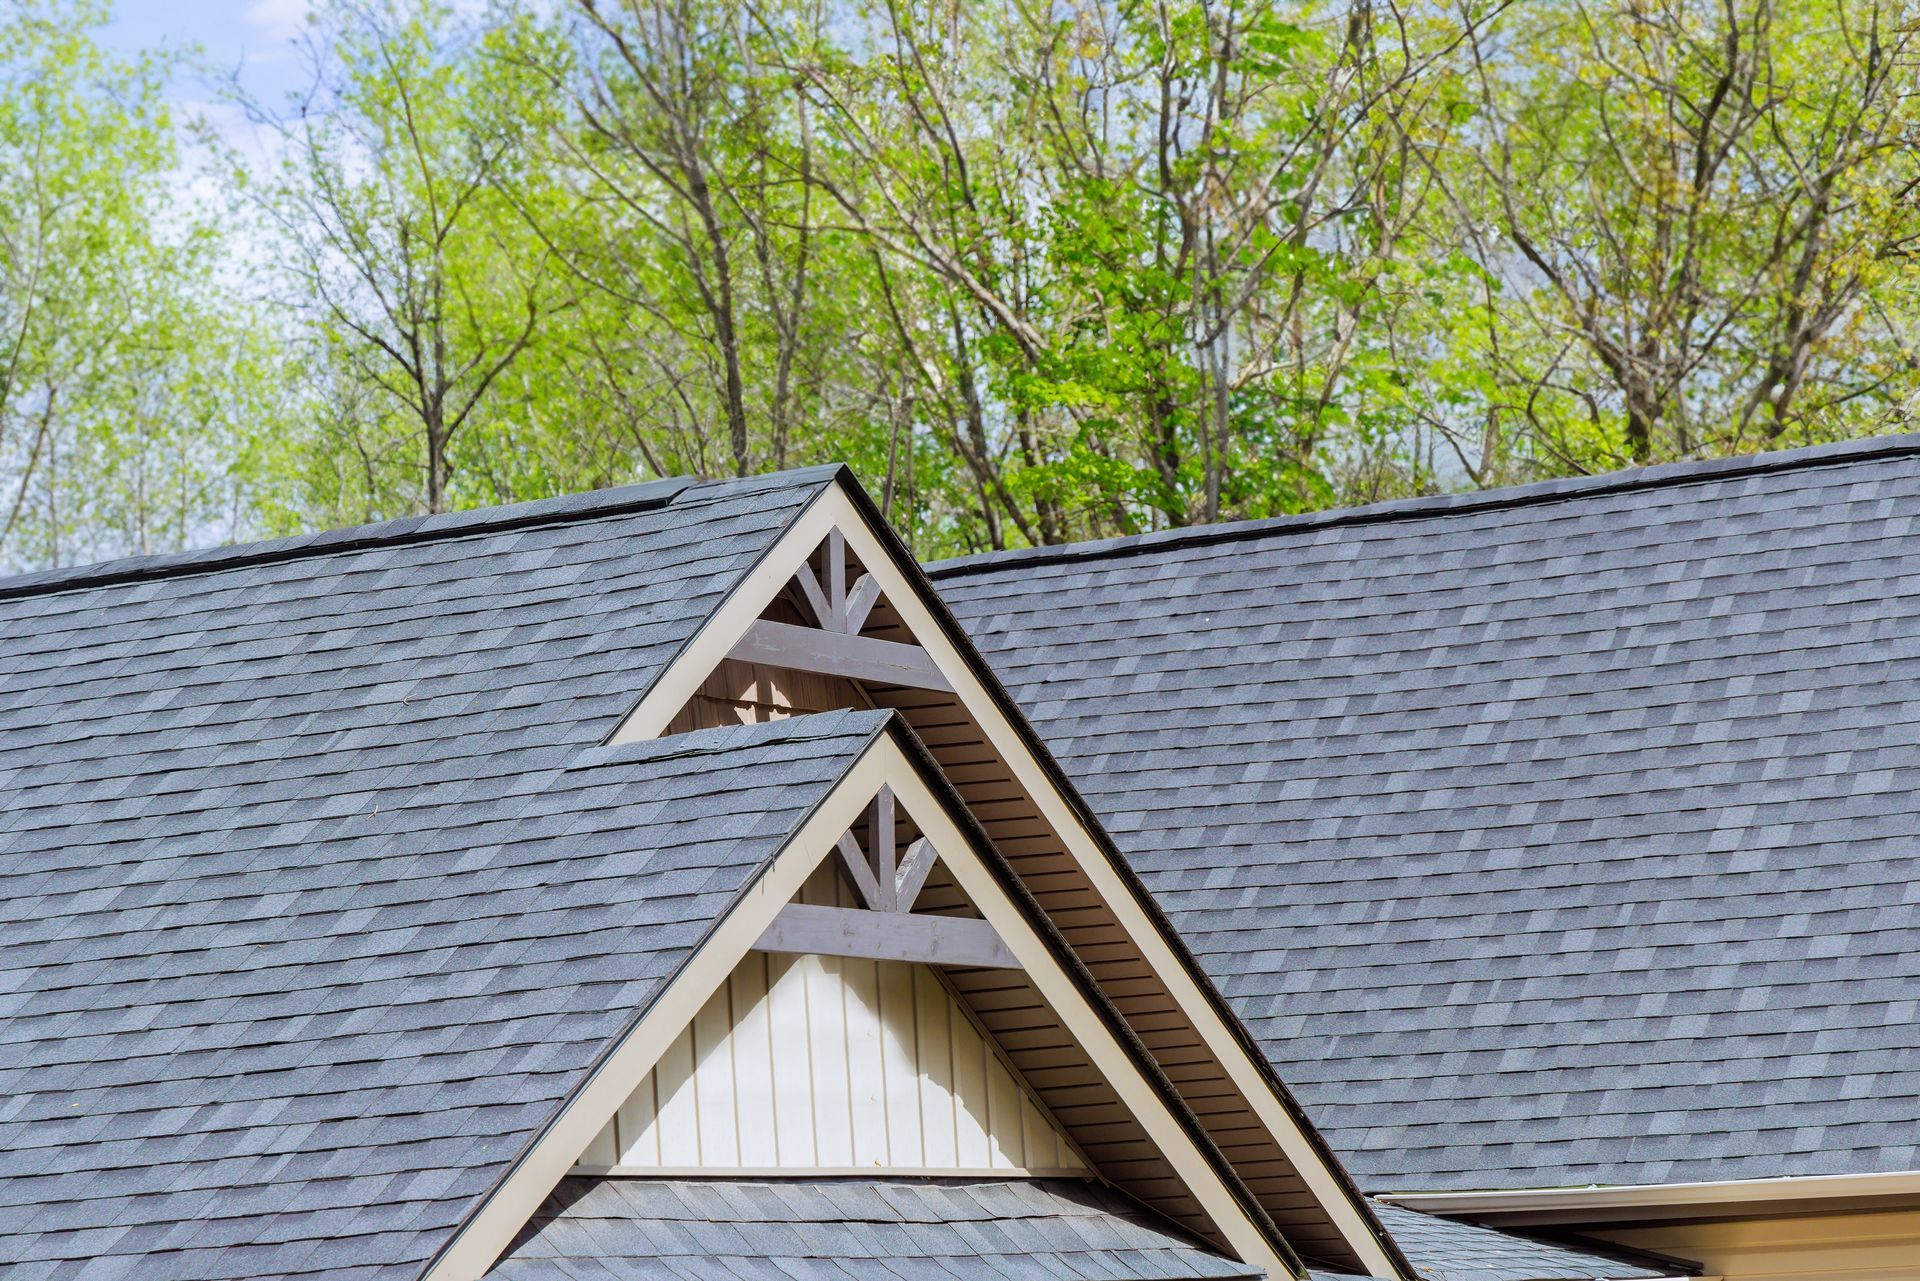
Finally, remember that insurance companies often require you to make reasonable efforts to protect the property. If you document your steps and keep receipts for materials, you strengthen your claim. A professional roofer can provide a written estimate and a work order that serves as evidence of the damage and the needed repairs.
Ready Roofing, LLC, located at 5105 Philips Hwy Ste 205, Jacksonville, FL 32207, USA, provides residential and commercial roof repairs, replacements, inspections, and storm damage restoration across Northern Florida. You can reach them at +1 904-404-9849 for assistance with any wind damage roof repair needs.
READY ROOFING, LLC is also on Instagram.
Ends · ABOVETHECEILING